
Reverse osmosis system tubing: which one fits and how to replace it
Changing the filters under the sink, torch in your mouth – and then you notice the tubes: one is kinked behind the bin, another has turned yellowish, and there is a drop on the connector. The good news: with push-fit connectors, you can usually replace a tube on your reverse osmosis system yourself in about half an hour. The only important thing is not to mix up the lines.
Which tubes does a reverse osmosis system have?
The layout varies from model to model – the instructions for your system always take precedence. On many domestic systems, however, you will find three types of line:
| Line | From – to | Suitable accessories |
|---|---|---|
| Feed | from the cold water connection to the system | with a 1/2" angle valve outlet: branch with shut-off valve or – if the system has its own inlet valve – without shut-off valve; for 3/8", please ask us |
| Purified water | from the membrane to the storage tank (if fitted) and to the tap | L push-fit connector with check valve, e.g. after the membrane or before the tank |
| Waste water (concentrate) | from the system to the drain | depending on the system |
There are also often short pieces of tubing between the individual filter stages.
Which tubing fits?
The size
What matters is the outside diameter. Many domestic systems use 1/4" – but do check it on your own tubing. How to measure correctly and which connector goes with it is explained in our guide to tubing sizes 1/4", 5/16" and 3/8".
Material and properties
Our PE tubing is available by the metre in 1/4", 5/16" and 3/8". It is made of PE, food-safe and neutral in odour and taste.
Pressure and temperature: the specifications in the instructions for your reverse osmosis system are what count. If in doubt, ask us before you buy – kontakt@smarald.com.
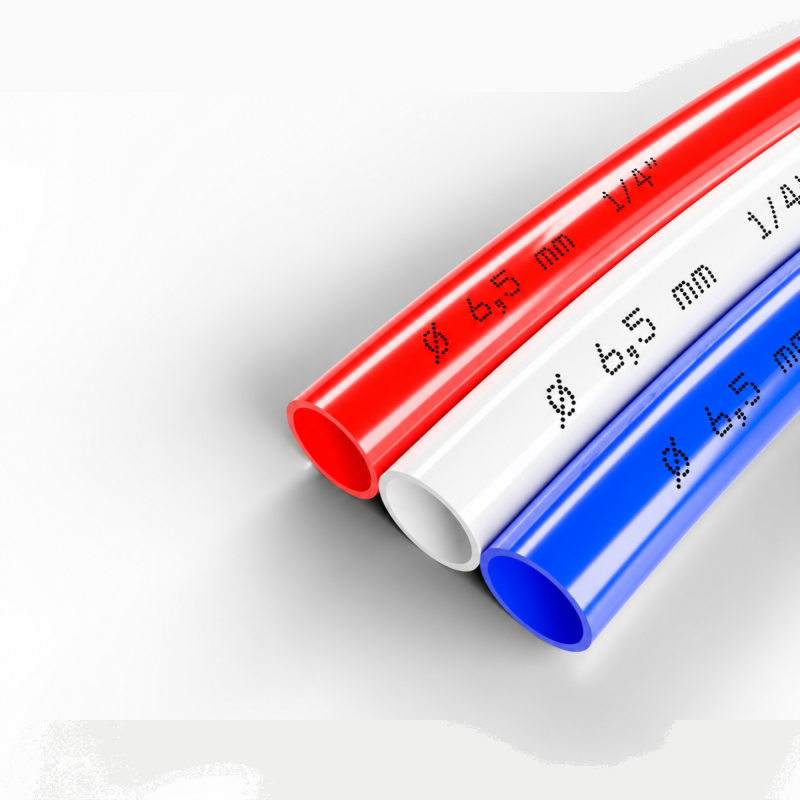
Colours for telling lines apart
Each size is available in white, black, blue and red. Which colour stands for which line on your system is set by the manufacturer – it is worth checking the instructions. If you are laying new lines yourself, choose your own scheme, for example blue for the feed, white for purified water and black for waste water. The main thing is to stick to it and note it down on the instructions.
When should the tubing be replaced?
Replace a tube if you notice any of the following:
- Kinks or crushed areas that no longer spring back
- Discolouration, cracks or brittle, hard areas
- It drips at the connector even though the tube is pushed in as far as it will go and the clip is in place – in that case, first cut a fresh, straight end and push it back in; if it still drips, replace the connector
- The tube has become too short after being trimmed several times and is under tension
Replacing the tubing step by step
- If the system has a pump, unplug it first. Then close the feed at the shut-off valve and, if there is one, the valve on the tank as well. Open the reverse osmosis tap until no more water comes out. Put a cloth underneath.
- Photograph the routing of the lines with your phone and mark both ends of the old tube with tape.
- Release the old tube from both connectors – our guide Fitting and releasing push-fit connectors shows you how.
- Measure the new length against the old tube. Allow for a wide bend and a few centimetres to spare.
- Cut the new tube straight, ideally with the tube cutter & fitting tool. According to the product page, it cuts tubing up to Ø 15 mm.
- Mark the insertion depth with a pen, push the tube in as far as it will go and fit the clip.
- Close the reverse osmosis tap, reopen the tank valve, slowly open the feed (plug the pump back in) and check all connections with a dry piece of kitchen roll. You will find further steps before first use in the instructions for your system.
Check again the next day – small leaks often only show up after a few hours.
The most common mistakes
- Lines mixed up. The feed and waste water lines look the same. The photo and the markings from step 2 prevent this.
- Routed too tightly. A tube under tension or taken sharply round a corner kinks easily. Better a little longer and in a curve.
- Old tube end reused. The teeth in the connector leave marks. Always insert a fresh, straight end.
- Pressure not released. Then water sprays out when you release the tube, and the ring is hard to press.
Matching items in our shop: PE tubing by the metre, tube cutter, straight push-fit connectors, connection tee with shut-off valve.
In short: Measure the outside diameter, photograph and mark the lines, turn off the water and release the pressure. Then cut the new tube straight, push it in as far as it will go, fit the clip – and check again for drips the next day.
Not sure which tubing belongs on your system? Send us a photo at kontakt@smarald.com – we are happy to help.